
Last updated: November 17, 2026
Key Takeaways
- Support the gutter before loosening any fascia fastener.
- Brace the gutter so it stays level while the old board comes out.
- Cut failed fascia into shorter sections and remove reachable fasteners.
- Match the replacement board to the opening, thickness, and gutter line.
Quick answer: in most cases, you can replace a fascia board with the gutter in place in 7 steps, but only if the gutter is supported before any fastener comes out. How to replace fascia board with the gutter in place depends on the gutter being braced, the board being cut out in sections, and the replacement matching the old thickness and opening. The work is slower than a full gutter removal, and it is not the right move if the gutter is bent, packed with debris, or already pulling away from the roof edge.
What has to happen first?
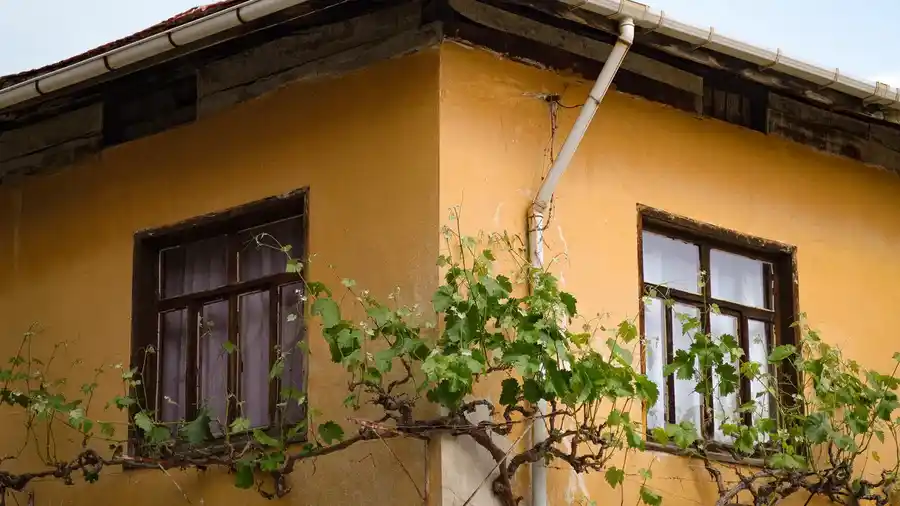
You need to hold the gutter up before you touch the fascia board fasteners. The gutter is often hanging from brackets, hidden spikes, or a mix of hangers and screws, and once the board behind it starts coming apart, the trough can twist or drop.
Start by clearing the gutter so you can see each bracket or hanger. If the run is long, plan for support points every few feet, not just one end. A gutter filled with water, leaves, or grit adds weight fast, and that extra load makes the board harder to change cleanly.
Therefore, the safest way to think about how to replace fascia board with the gutter in place is to treat the gutter as a load that needs a temporary path. That may mean temporary braces, a helper, or both. If the gutter is already sagging badly, the board swap becomes a gutter repair problem too, not just a fascia board replacement.
Use a stable ladder setup and keep your body out from under the gutter as much as possible. OSHA’s ladder safety guidance and fall-protection guidance are worth a look before starting any overhead repair: OSHA ladder safety, OSHA fall protection, and NIOSH ladder safety. OSHA’s ladder guidance is built around safe setup and three points of contact, which matters on a roof edge as much as on the ground.
How do I support the gutter while the board comes out?
Because the gutter carries weight through the fascia, you support it by transferring its load to temporary braces before loosening the fascia fasteners. The gutter does not need to be removed for every repair, but it does need to be held steady enough that the run does not sag, twist, or tear loose when the board behind it is opened up.
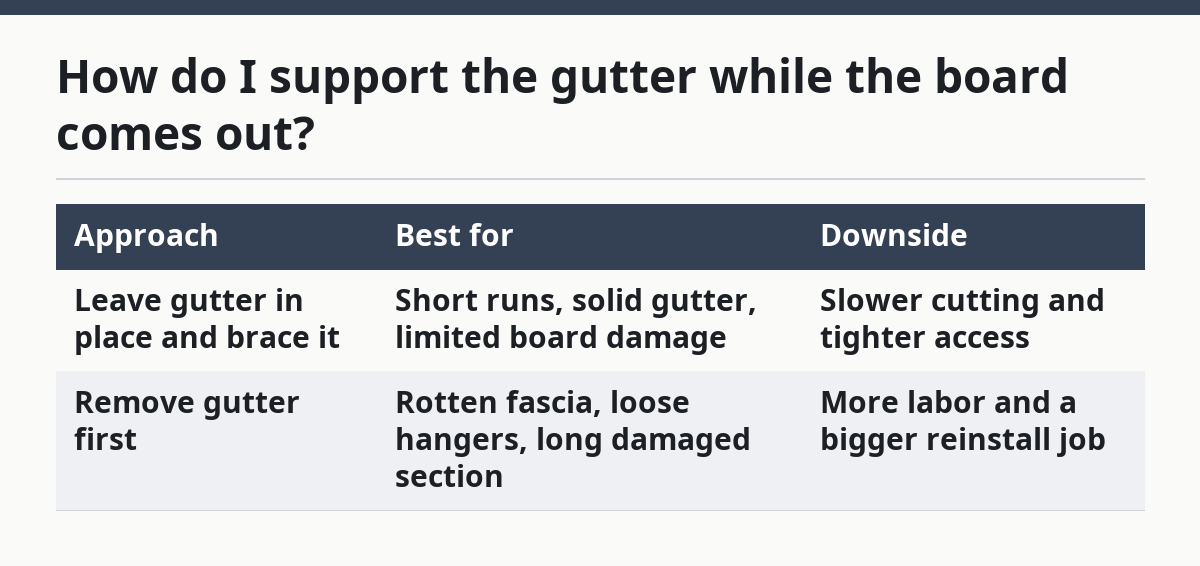
A simple comparison helps:
| Approach | Best for | Downside |
|---|---|---|
| Leave gutter in place and brace it | Short runs, solid gutter, limited board damage | Slower cutting and tighter access |
| Remove gutter first | Rotten fascia, loose hangers, long damaged section | More labor and a bigger reinstall job |
Temporary support can be as plain as blocks, braces, or a helper holding the gutter while one section is opened. The point is not to lift the gutter hard; it is to keep the run from shifting when screws, nails, or hidden fasteners are removed.
If brackets or hangers are screwed through the fascia, each one needs to be backed out before the board can slide free. Keep the gutter aligned while you remove fasteners one by one. A common mistake is to rip out several at once, then find the gutter has dipped enough that the last fastener is binding the whole run.
Do not force the gutter upward to make room for the board. That can deform the metal and make the reinstall worse than the original repair. If the gutter has old sealant, caulk, or a tight drip edge, expect some resistance around the top edge and work slowly.
How do I remove the old fascia without wrecking the gutter?
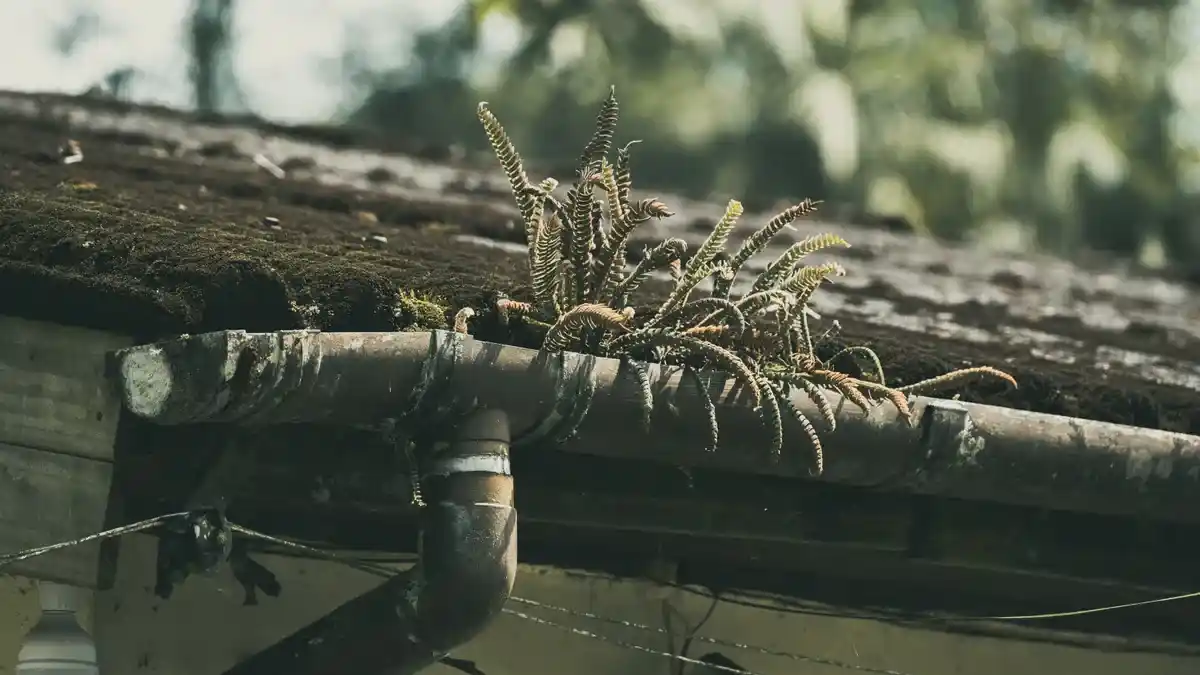
You remove the old fascia by cutting the failed board into manageable sections and backing out every fastener you can reach. The goal is to get the board out from under the gutter without prying against the trough itself.
Here is the core procedure:
-
Clear the work area and inspect the edge. Remove leaves, loose sealant, and debris so the gutter edge and drip edge are visible. A clean line makes it easier to find each fastener and see where the board is still attached.
-
Brace the gutter before loosening anything. Place temporary support so the gutter stays level while screws or nails are removed. Even a short run can shift once the board loses its grip.
-
Remove gutter brackets or hangers from the fascia. Back out the fasteners that pass through the fascia board, one at a time. Keep one hand or brace on the gutter so it does not swing.
-
Cut the old fascia into shorter lengths if needed. A saw or oscillating tool helps free stubborn sections around gutter hangers and relieve pressure at tight spots. Shorter pieces are easier to slide out around the gutter lip and drip edge.
-
Pull the damaged board away from the rafters or sub-fascia. If the board is rotted, it may crumble near the nails. Remove the fragments carefully so you do not bend the gutter edge.
-
Check the hidden edge behind the board. Look for rot, soft wood, or damaged fastener holes in the rafter tails or sub-fascia. If the backing wood is bad, the new board will not hold well.
-
Measure the opening before cutting the replacement. Match the length exactly and check the thickness so the new board sits flush under the gutter line.
The hardest part is usually the last few fasteners. They often hold the gutter and the old fascia together like a clamp. If the board will not move, stop and look for one more screw or nail rather than prying harder. Prying can crush the gutter hem or tear the metal hanger.
What board fit and material details matter?
The new board needs to match the opening, the thickness of the old board, and the way the gutter hangs. A fascia board that is too thick can push the gutter out of line, while one that is too thin leaves gaps and weak fastening points.
Dry-fit the board before fastening. Slide it into place under the gutter edge and check that it sits flat against the framing without forcing the gutter outward. If the roof edge has a drip edge, the top of the fascia should not jam against it or trap water.
Fasteners matter just as much as board size. Use enough fasteners to hold the board tightly against the framing and to give the gutter brackets a solid bite. Loose fasteners lead to a wavy gutter line, and once the gutter starts moving, water can spill behind the board instead of into the trough.
This is also the point where rotten hidden wood changes the job. If the rafter tails or sub-fascia are soft, the new fascia board may look fine but fail early because the fasteners have nothing solid to grab. A board replacement is only as strong as the wood behind it.
Do not bury the drip edge under the new board or trap it against sealant. The top edge needs a clean path so water can shed into the gutter, not behind the fascia. That detail is easy to miss when the gutter is still in place, and it is one of the main reasons repairs fail early.
How do I put the gutter back on after the new fascia is in?
You put the gutter back on by fastening it to the new fascia in the same line it held before, then checking slope, tightness, and drainage. If the gutter was never removed, this step becomes a reset: the run should end up straight, supported, and sealed where it was opened.
After that, reinstall each bracket or hanger with care. If the old holes are stripped, move the fastener to solid wood rather than reusing a loose hole that will pull out again. Tighten the bracket enough to hold the gutter steady, but do not crush the metal or force it out of its natural line.
After the gutter is reattached, check that the run still pitches toward the downspout. A gutter that sits level or dips the wrong way can hold water even if the fascia board is perfect. That trapped water will shorten the life of the repair and may soak the new board again.
If the gutter edge or sealant was disturbed, rework those joints before calling the job done. The connection between the fascia, gutter, and drip edge has to shed water in one direction only. A small gap at the top can send water behind the board during the first hard rain.
A final look from the ground helps catch wavy lines, loose brackets, and sections that sit proud of the roof edge. If the gutter looks bowed after reinstalling, back up and correct it now. A straight run is easier to fix before the ladder comes down than after the next storm.
What goes wrong most often?
The most common failure is removing too many fasteners before the gutter is supported, which can twist the run or tear loose a hanger. That mistake can turn a fascia board job into a gutter replacement job in minutes.
Another common problem is cutting the new board too loose. A sloppy fit leaves gaps at the rafter tails and gives the gutter brackets a weak base. A board that is too tight can bow the gutter or push the drip edge out of place.
A third mistake is ignoring hidden rot. The face board may be the obvious failure, but soft wood behind it is what usually lets the fasteners pull free. If the backing wood is bad, the repair will fail early no matter how nice the new board looks.
So the safest approach is to slow down at three points: before the first fastener comes out, before the replacement board goes in, and before the gutter goes back on. Those are the spots where a rushed repair becomes a repeat job.
When is this not the right repair?
This is not the right repair if the gutter is badly bent, full of old debris, or already pulling away from the roof edge. In those cases, keeping it attached can make the board change harder than removing the gutter first.
It is also a poor choice if the fascia and the hidden wood behind it are both rotten over a long stretch. Once the damaged area grows past a small section, the job stops being a simple board swap and becomes a larger edge repair.
If the roof edge is awkward, steep, or too high for stable ladder work, stop and choose a safer setup. Overhead work with one hand on a ladder and the other under a gutter is not the place for shortcuts. A qualified roofing or carpentry professional is the safer call when the gutter run, the roof edge, or the framing is in poor condition.
For a broader repair map, this page sits under the soffit fascia repair methods hub, which covers the surrounding parts of the roof edge and how they fit together.
Do gutters always have to come off?
No, gutters do not always have to come off. If the run is straight, the hangers are accessible, and the fascia damage is limited, the gutter can often stay in place while the board is replaced. The catch is that it still needs support, or the fasteners can shift the run when they come out.
Can a damaged fascia support the gutter?
No, a damaged fascia should not be trusted to support the gutter. If the board is soft, split, or rotted, the fasteners can pull free and let the gutter sag or detach. Temporary support is only a bridge to the repair, not a substitute for solid wood.
What happens if the gutter is old too?
If the gutter is old too, the repair can spread into a gutter job fast. Brittle metal, stripped holes, or failed seams make it harder to reattach the run cleanly after the new fascia is in. In that case, replacing the board with the gutter in place may save time at first, but it can create more work if the gutter cannot be fastened securely. Consult a roofing or carpentry professional if the run cannot be supported cleanly, and review OSHA ladder safety before starting.
Drafted with AI; not yet reviewed by a person.

[…] fix vented soffit panels comes down to 3 choices: reseat a loose panel, resecure a failed edge, or replace a damaged section. For safe access, use a ladder that reaches the work area without overreaching, and if the […]