

Last updated: November 15, 2026
Quick Answer: To match new fascia to existing trim, aim for the closest possible profile match and keep visible size differences to 1/8 inch or less. Start with shape, then match paint, sheen, and joints.
Key Takeaways
- Match the old edge shape, face width, and thickness within 1/8 inch.
- Use a clean swatch, compare sheen in daylight, and prime before the finish coats.
- Match width, thickness, and projection so the new board sits in the same line.
- Keep corner patterns, seam spacing, and overlap consistent so the repair does not draw attention.
New fascia only disappears when the profile, board thickness, and paint sheen are all close; then the joint, caulk line, and corner treatment need to cooperate too. The steps below deal with the profile, the swatch, primer, and finish work that help the replacement board blend in.
Start by copying the trim profile, not just the color
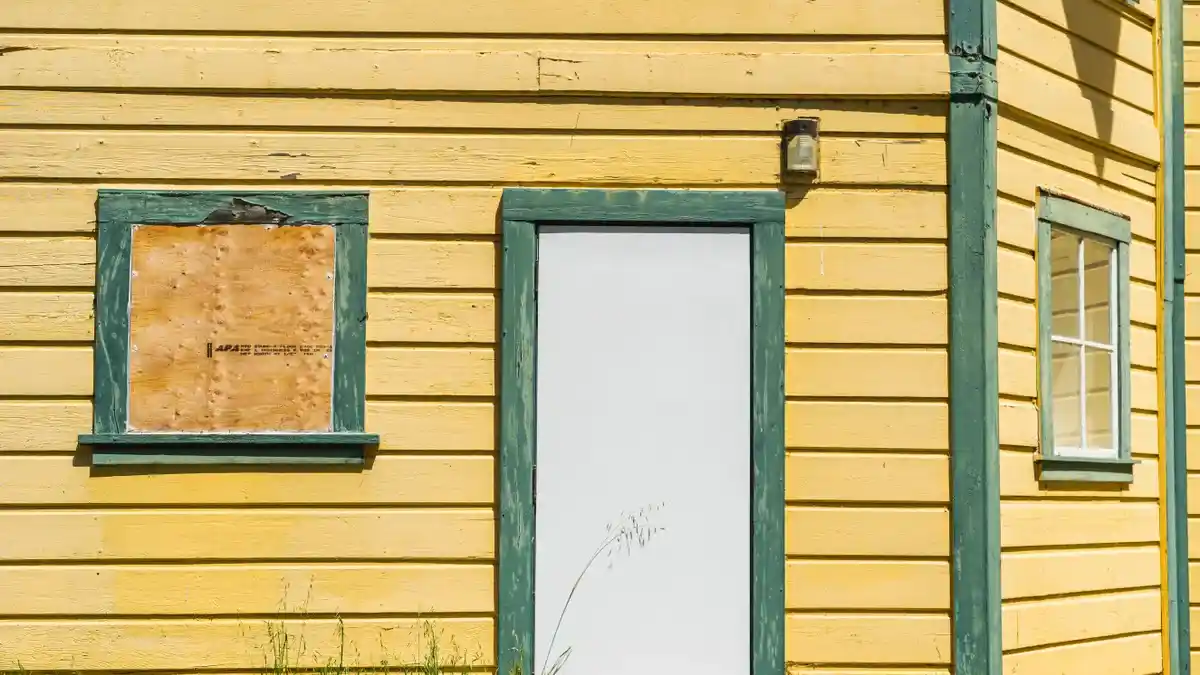
Within 1/8 inch, the edge shape, face width, and thickness should line up. Miss the profile, and even flawless paint can look wrong from the street.
Picture yourself under the eave with a tape measure, a scrap of paper, and an old board marked by years of weather. Don’t guess the shape. Read it like a template. That’s where the job begins.
Measure the visible face, the thickness, and any bevels or beads. A plain flat fascia is easier to copy than a decorative profile with a small step or ogee.
- Measure the old fascia at the widest visible point, not just the nominal size.
- Check thickness at the cut edge; many boards that look the same from below differ by 1/4 inch or more.
- Trace the edge profile on cardboard or heavy paper.
- Compare that trace with a new board before you buy or cut anything.
- Hold the new board next to the old one in the same light.
When the existing trim has a routed edge or decorative cap, don’t try to “fake” it with caulk. You end up with a flat line where the old piece had shadow. The eye spots that from the driveway, like a neon sign.
For the closest visual fit, choose the same species or the same material family when possible, then verify the shape in daylight. A flat, square-edge fascia can sometimes be copied with a standard 1×6 or 1×8 board if the proportions are right, but the profile still has to be checked on site.
How do you match the paint on old fascia and trim?
Take a clean paint swatch, check sheen in daylight, and prime the new board before the first finish coat. Color by itself is not enough; gloss and weathering shift the look a lot.
Old exterior trim rarely shows its original color anymore. Sun fades one side faster, while the top edge may chalk and the lower edge stays darker. A fresh board painted at the wrong sheen will jump out even when the color code is close.
Here’s the catch: compare color on a cleaned spot, not on dusty wood. Wipe the old trim first, then inspect an area that has not been blasted by sun or sheltered by a gutter drip. If you can, use a sample card and compare it at noon and again near sunset.
Try this order:
- Clean a 12-inch section of the old trim.
- Hold the swatch flat against it, not angled.
- Match both color and sheen.
- Prime the new fascia with the right primer for the board material.
- Paint at least 2 coats of finish paint so the color reads the same across the whole run.
Primer matters because bare wood, PVC, fiber cement, and metal all take paint differently. A white primer under a deep color can also keep the new board from looking thin or washed out. And when the old trim has a softer, lower sheen, a glossy new board will call attention to itself from across the yard.
Sherwin-Williams and Benjamin Moore both publish color-matching resources on their sites, and those pages are worth checking before you buy paint. Need a second opinion on sheen? Ask the paint counter to compare a sample under natural light, not store fluorescents.
https://www.sherwin-williams.com/homeowners/how-to/painting-basics/how-to-match-paint-color
https://www.benjaminmoore.com/en-us/project-ideas-inspiration/color/color-matching
What board dimensions should match on fascia replacement?

The board dimensions should match the existing width, thickness, and projection so the new fascia sits in the same line as the old trim. If the new board sticks out by even 1/4 inch, the edge will catch the eye and change the shadow line.
Picture the eave from below, and one side suddenly looks heavier than the rest. Usually, the problem is not color. It’s a board that is too thick, too tall, or mounted too proud of the rafter tails.
Use the old board as the reference for three things:
- Width: match the face that shows from the ground.
- Thickness: match the cut edge and how the board meets the soffit.
- Projection: match how far the board sits off the framing.
A common mistake is choosing a standard size that looks close on the shelf but different on the house. A board sold as a “1x” is not usually a full inch thick, and the actual size can vary by material. That difference shifts the shadow line under the gutter and around the corners. Sneaky little detail.
If the old trim has a little belly from age, do not copy the bow. Match the intended line, not the sag. Set the new fascia straight, then use caulk to close a small gap at the joint, usually no more than 1/8 inch if the boards were cut cleanly.
Long runs need the same spacing at every seam. One joint tight, the next open? The line breaks the moment the sun moves across the wall.
How should corner details and joints be handled?
Corner details should match the existing trim pattern, joint spacing, and overlap, because corners are where mismatched fascia shows first. A clean corner with the wrong return length looks newer than the rest of the house, even after 2 coats of paint.
Most corner problems show up before paint goes on. Dry-fit the pieces and check the shadow line from 10 feet away. If the outside corner has a return, the new piece should mimic the length of that return, not just the face width.
Use this sequence for a neat result:
- Cut the board ends square unless the existing trim uses a miter.
- Match the old corner style: butt joint, miter, or wrapped return.
- Leave a narrow gap for movement where the material needs it.
- Fill only the paintable seam with exterior caulk.
- Tool the caulk smooth with one pass, then stop.
Do not overload the corner with caulk. A thick bead shrinks, cracks, and leaves a shiny ridge that looks like a repair. Use just enough to bridge the seam and feather it to the board.
If the existing trim has a pattern of seams every 8 feet or 16 feet, keep that rhythm. Changing the joint spacing can make the new board look more obvious than the color does. The spacing is part of the design, even if nobody notices it consciously.
For a painted fascia, caulk the top and side seams after primer, then topcoat over the cured bead. When the old trim has aged caulk that has turned dull and cracked, scrape it before you compare colors. Old caulk can fool your eye by making the paint seem darker than it is. A professional painter or trim carpenter can help if the joint pattern is irregular or the material calls for a specific sealant.
How do you blend new fascia with weathered trim finish?
Blend new fascia with weathered trim finish by softening the fresh paint, matching the sheen, and avoiding a too-perfect edge. A board painted in bright fresh white beside a chalked 10-year-old trim line can look new unless you control the finish.
Picture the board already cut and installed, but the paint still looks too bright beside the old trim. Finish consistency matters more than the exact tint at that point. The eye reads reflection before it reads color.
A practical finishing plan:
- Use the same primer color under all new boards.
- Keep brush marks and roller texture consistent across the run.
- Match sheen level to the existing trim, not the label on the can.
- Paint the full board from edge to edge so the finish reads as one piece.
If the old trim has a slightly flatter look, don’t jump to high gloss to make it “cleaner.” That creates a hard reflection line and can make the fascia look like a replacement part. A satin or low-sheen finish often blends better on exterior trim, but the right choice is the one that matches the house, not a trend.
On longer runs, paint the new fascia in the same lighting conditions as the old visible sections if possible. A cloudless day, a shaded wall, and an afternoon sunlit wall can all make the same paint read differently. What looks matched on the ladder may look wrong from the curb.
The site’s main hub on soffit and fascia materials and design choices covers the bigger material decisions. This page is the narrower job: making one new board sit quietly beside the old ones.
Common mistakes that make new fascia look obvious
New fascia looks obvious when the profile, sheen, and joint detail are treated as separate jobs instead of one match. The mistake costs time, extra paint, and a board that still looks “new” after the first coat.
Picture the replacement installed, then stepped back from. Everything is straight, the paint is fresh, and yet the new section still draws the eye. Usually, one of three things got missed.
Watch for these misses:
- Wrong profile: a square edge where the old trim had a bevel.
- Wrong sheen: a glossy new board next to a flatter old one.
- Wrong joint treatment: a thick caulk ridge or a seam in the wrong place.
A fourth problem is forgetting board width. Even a 1/4 inch mismatch changes the shadow line under the soffit and along the gutter edge. From the ground, that shadow is what the eye reads first.
Fix the mistake at the board stage, not with extra paint. Paint can hide a lot, but it cannot change the edge shape. If the profile is wrong, replace the piece or trim it to match before finishing.
When the color is close but not exact, test a small brushed sample on the back side of the board first. That gives you a low-risk check before the whole face gets coated. The goal is not a perfect factory finish; it’s a board that disappears into the trim line.
How do I match the profile?
Trace the old edge and compare it to the new board before installation. That is the fastest way to confirm the shape, especially when the trim has a bevel, bead, or small step that is easy to miss in photos.
Use cardboard, a paper template, or the old board end if it’s still intact. When the edge shape is more complex than a simple square board, copy the visible face first and the shadow line second.
Should I replace all the trim at once?
Replace all the trim at once only if the old sections have the same profile, thickness, and finish wear pattern. Mixed-age trim can look uneven even when the color is matched.
If one short section is failing and the rest still lines up cleanly, a partial replacement can work. But when the board sizes or paint sheen vary across the house, a full run usually looks better because it removes the patchwork effect.
How do I blend new paint with old?
Blend new paint with old by matching the sheen, priming the new board, and painting the full visible section rather than spot-fixing the front face. That keeps the light from catching a lap mark or a hard edge.
Where the old trim has dulled over time, a slightly lower-sheen finish often blends better than a bright one. Use the same color family, but compare it on a cleaned section in daylight before you commit to the whole run.
Drafted with AI; not yet reviewed by a person.



[…] How to Match New Fascia to Existing Trim […]
[…] choice for homes that need a traditional finish, custom paint color, or close visual match to existing trim. It is the material to pick when appearance matters more than low […]