

Last updated: November 15, 2026
Key Takeaways
- Fascia corners usually fail at the miter joint, the nail line, or the end grain where water sits longest.
- Have a saw, pry bar, drill, exterior screws or nails, sealant, primer, and replacement fascia board ready before cutting.
- Start with the smallest fix and move to replacement only if the damage demands it.
- A corner cut works when the boards meet cleanly, and the outside edges stay flush across the face.
How to repair fascia board around a corner usually starts with one bad miter joint, a loose edge, or a soft spot where water keeps getting in. The fix is to cut back the damage, square up the corner, and rebuild the joint with a clean fit, sealant, and solid fastening. This guide explains how to repair fascia board around a corner with a 1/8-inch gap, a 45-degree cut, and the right materials. It also shows when a patch is enough and when the corner needs a larger rebuild.
What fails first at a fascia corner?
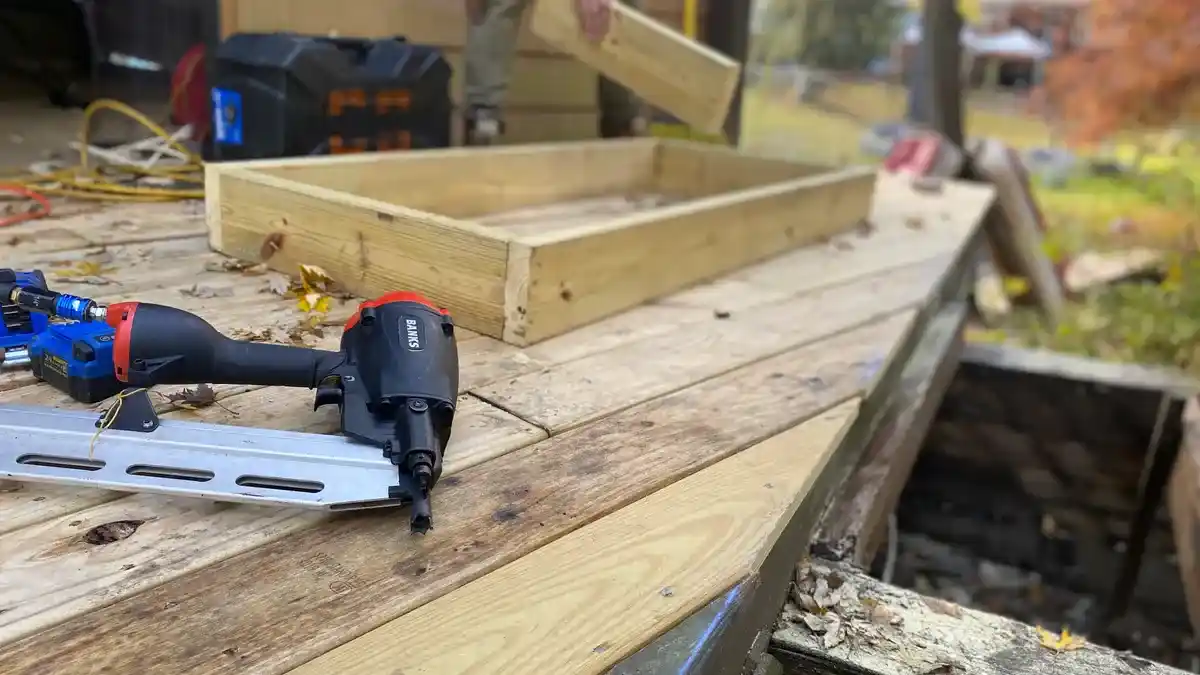
A fascia corner usually fails at the miter joint, the nail line, or the end grain where water sits longest. That’s the first place to check, because a corner takes runoff from two roof edges and often shows damage before the straight run does.
Picture this: you’re standing on a ladder and the corner board looks fine from the driveway, but close up the paint is cracked, the joint has opened 1/8 inch, and the wood feels soft at the edge. That’s a classic corner repair, not a full fascia job.
The truth is, corners fail for a few repeat reasons:
- The joint was cut off angle, so the two boards never met tightly.
- The end grain was left unsealed, and the wood drank in water.
- The fasteners were too short or spaced too far apart near the turn.
- Corner trim or drip edge was not lapped cleanly over the joint.
A small gap can look harmless and still feed rot for months. That’s why a corner repair starts with a close look at 3 things: the wood, the joint, and the flashing above it.
If the damage is only paint deep, scrape, prime, and reseal. If the board is soft, swollen, or split past the corner, plan on cutting out the bad section and replacing that piece.
What tools and materials do you need for a corner repair?
You need a saw, pry bar, drill, exterior screws or nails, sealant, primer, and replacement fascia board before you start cutting. A miter saw makes the cleanest corner cut, but a fine-tooth circular saw can do the job if the board is long and already installed.
Picture this: you’ve got the old corner exposed, but you don’t want to make three extra trips to the store. A 2×6 fascia board, exterior-grade fasteners, and paintable sealant are the basics for most wood corners.
Use this short list:
- Pry bar for lifting loose trim
- Hammer and punch for stubborn nails
- Tape measure and square for layout
- Miter saw or circular saw with a fine-tooth blade
- Exterior wood filler for small voids, not rotten sections
- Primer and exterior paint
- Sealant made for exterior joints
- Replacement fascia board or corner trim if the turn is wrapped
If the fascia is aluminum or wrapped with metal, the repair shifts. You’ll usually be matching a cover piece, not bare wood, and the corner detail may depend on the existing corner trim profile. That matters because the wrong profile leaves a lip that catches water.
Two trusted places to check safe access and ladder setup before you go up are OSHA’s ladder guidance and NIOSH’s ladder safety resources:
https://www.osha.gov/ladder-safety
https://www.cdc.gov/niosh/topics/falls/ladder-safety.html
Big mistake: buying filler when you need replacement stock. Filler works for hairline gaps and nail holes. It will not rebuild a rotten outside corner.
How do you repair fascia board around a corner?
You repair fascia board around a corner by removing the damaged section, cutting the replacement to the right angle, fastening it tight, and sealing the joint so water can’t creep behind it. The key is to work from the smallest fix to the largest, so you don’t rip out more wood than you need.
Picture this: the corner board is split at the last 12 to 18 inches, but the rest of the run still feels solid. That’s the point where a controlled repair saves time and keeps the roof edge tidy.
Follow these steps:
-
Mark the bad section.
Probe the fascia with an awl or screwdriver and mark every soft spot. Cut at least a few inches past rotten wood so the new piece lands on sound material. -
Remove the damaged board.
Back out or pry off fasteners carefully so you don’t crush the adjoining board or the roof edge. If the corner trim overlaps the joint, remove only what you need. -
Check what’s behind it.
Look at the rafter tails, sub-fascia, and any flashing. If the structure behind the fascia is soft or missing, a new face board alone won’t hold. -
Cut the replacement board.
Use a 45-degree miter if the corner is a true outside miter, or match the existing angle if the roof line is not square. Dry-fit the piece before fastening. -
Fasten the board in place.
Drive nails or screws into solid backing, keeping the face flat and the top edge even with the rest of the run. A bowed board will show at the corner immediately. -
Seal the joint and end grain.
Run exterior sealant along the miter joint, the top edge, and any exposed end grain. Then prime and paint so the wood is not left raw. -
Reinstall or add corner trim.
If the corner uses trim to cover the join, fit it after the board is secure. If you are not sure the trim profile matches, consult a qualified carpenter or roofer before you set it, because the wrong profile can leave a water-catching lip. -
Inspect after the first rain.
Check for staining, opened gaps, or water trails under the corner. A repair that looks neat and still leaks is not finished.
A clean corner is more than cosmetic. A tight fit and sealed cut keep water from tracking behind the fascia and into the roof edge. If the board refuses to sit flush, stop and correct the backing instead of forcing it.
How do you make the corner cut and joint fit right?
A corner cut fits right when the two boards meet with a clean miter and the outside edges stay flush across the whole face. If the angle is off by even a little, the joint opens, the caulk line cracks, and the paint fails fast.
Picture this: you hold two pieces together on the ground and the seam looks perfect, but once they’re on the ladder one board sits proud by 1/16 inch. That tiny step is enough to catch water and make the corner look rough from the street.
Use these rules:
- Measure the existing corner before cutting anything new.
- Match the angle already on the house if it isn’t a standard 45-degree outside turn.
- Test-fit the joint dry, with no sealant, before you nail it home.
- Keep the top edges level so water doesn’t pool at the seam.
- If the boards are different thicknesses, plane or shim the backing, not the face.
The best result is a trim line that hides the seam without hiding a bad fit. Corner trim covers the joint; it does not fix a crooked board beneath it.
For a wood fascia corner, the miter joint should close tight at the front edge and stay supported behind the face. If the back opens a little but the front closes tight, the repair may still work once it’s sealed. If the front opens, remake the cut.
When is a patch not enough?
A patch is not enough when more than a small section is rotten, the board has split through the corner, or the backing behind it is soft. In those cases, the corner needs a larger rebuild, because sealant and filler won’t hold a board that has lost its structure.
Picture this: you pull one loose board and find dark, crumbly wood behind it, plus a second soft area 2 feet away. That’s not a patch job anymore. It’s a rebuild of the damaged corner section.
Look for these stop signs:
- The fascia flexes when you press it.
- Nail heads pull out with little resistance.
- The rafter tail or sub-fascia is stained, soft, or broken.
- The corner has repeated leaks after prior repairs.
- The board is warped so badly it won’t sit flat.
On the flip side, a shallow split, a loose miter, or a thin surface crack can often be repaired without replacing a long run. The line is simple: if the board still has shape and strength, repair it; if it has lost both, replace it.
This is the point where a lot of generic advice goes wrong. It tells you to caulk everything. That only hides the failure for a season or two.
Finish details that keep the corner from failing again
A finished corner lasts longer when the joint is sealed, the paint covers every cut edge, and the water path above it is clear. Those details sound small, but they decide whether the repair holds through the next heavy rain or opens again.
Picture this: the corner looks good on day one, but six months later the same seam is peeling because the end grain was never primed. That’s a finish problem, not a carpentry problem.
Do these finishing steps:
- Prime all cut ends before paint goes on.
- Use paintable exterior sealant at the seam, not interior caulk.
- Keep the sealant bead neat; a thick blob cracks sooner.
- Paint the board and trim after the sealant skins over.
- Check the drip edge or roof edge above the corner so water sheds away from the joint.
If the corner uses metal wrap or corner trim, make sure the overlap sends water outward, not back into the seam. A bad lap can undo an otherwise good repair.
One more honest limitation: if the fascia corner is high, awkward, or close to power lines, the repair is no longer a simple DIY trim job. A safe ladder setup matters more than speed.
Corner fascia repair checklist before you paint
A corner fascia repair is ready for paint when the board is flush, the joint is tight, the fasteners are set, and the sealant has covered every exposed cut. That checklist takes 2 minutes and can save you from repainting the same corner twice.
Picture this: you’re almost done, and the corner looks straight from the ground. A last close check catches a missed nail head, a thin gap on the back edge, or a dry spot in the primer.
Check these items:
- No soft wood remains at the repair. If you’re unsure, ask a professional to verify the corner before painting.
- The miter joint closes cleanly at the face.
- Fasteners are sunk and secure.
- Sealant covers the seam and end grain.
- Primer and paint reach every cut edge.
- Trim lines up with the rest of the fascia.
If all six points are good, the repair is ready. If even one is off, fix it now. A corner is unforgiving, and small mistakes show fast.
For broader repair methods on this same system, see the main soffit fascia repair methods hub.
Why do corners fail first?
Corners fail first because they collect water from two directions and expose more end grain than a straight run does. The miter joint is also a weak spot if it was cut poorly or left unsealed. Once the edge opens, moisture gets behind the board and starts the damage early.
How do you seal a corner joint?
You seal a corner joint by cleaning the seam, priming raw wood, and applying exterior sealant along the full joint and exposed end grain. The bead should bridge the gap without trapping loose debris underneath. Paint over it after it skins, so the repair looks finished and stays protected.
Can corner damage be patched?
Corner damage can be patched if the wood is still solid and the defect is small, like a hairline split or a loose seam. If the board is soft, swollen, or split through the turn, a patch won’t hold for long. In that case, replacing the damaged corner section is the better fix.
Drafted with AI; not yet reviewed by a person.


[…] answer: A gutter pulling away from the house usually means the fascia board behind it has rotted and can no longer hold the hanger screws. Press a flat-blade screwdriver into […]
[…] matters. Aluminum tends to be favored where a more rigid surface is useful, especially near fascia boards and larger […]